 | Before Christmas, I had intended to buy 2 twin sheet sets and finish this project for Addi's new big girl bed. With 2 sets, she would have 2 fitted sheets, 2 pillow cases and one quilt made from the 2 flat sheets. I didn't find any children's sets that appealed to me and most sheets these days seem to be poly-blend or microfiber, which I didn't want to use. And so the project was delayed a bit. |
When I donate to thrift shops, I also like to go inside to see what's there. I felt lucky to find a set of blue, twin size, 100% cotton sheets and a white flat sheet in very good condition. There was no pillow case included, but I bought the 3 pieces and got to work.
The first step, of course, was to wash everything. Then I pinned the white sheet onto my longarm table and layered batting and then the blue flat sheet on top. I kept both hems at the bottom, hoping to be able to use them later.
The first step, of course, was to wash everything. Then I pinned the white sheet onto my longarm table and layered batting and then the blue flat sheet on top. I kept both hems at the bottom, hoping to be able to use them later.
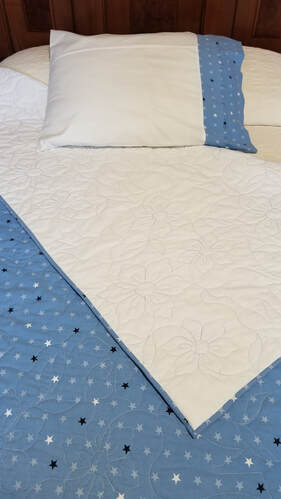
 Blue flat sheet, white flat sheet, blue fitted sheet.  I chose my Baltimore Birds E2E pattern to quilt the layers together. For my Statler peeps, I set it up in Repeat Patterns and used End of Set to Continue. |  To make both sides seem like the right side, I quilted with a silver/gray variegated King Tut on top and a light/med blue variegated King Tut on the bottom. Both had good contrast against the fabrics and there was no worry about contrasting colors popping through to the other side because they would match the fabrics there. |

I had about 13" left from the length of the blue sheet, from which I cut 5 binding strips. While I prefer to cut binding on the bias, this was a make-do situation and the cross grain was soft and very nice to work with. After that, I was left with the original hem and a bit of fabric measuring about 6 1/2", which I used for the pillow case trim.
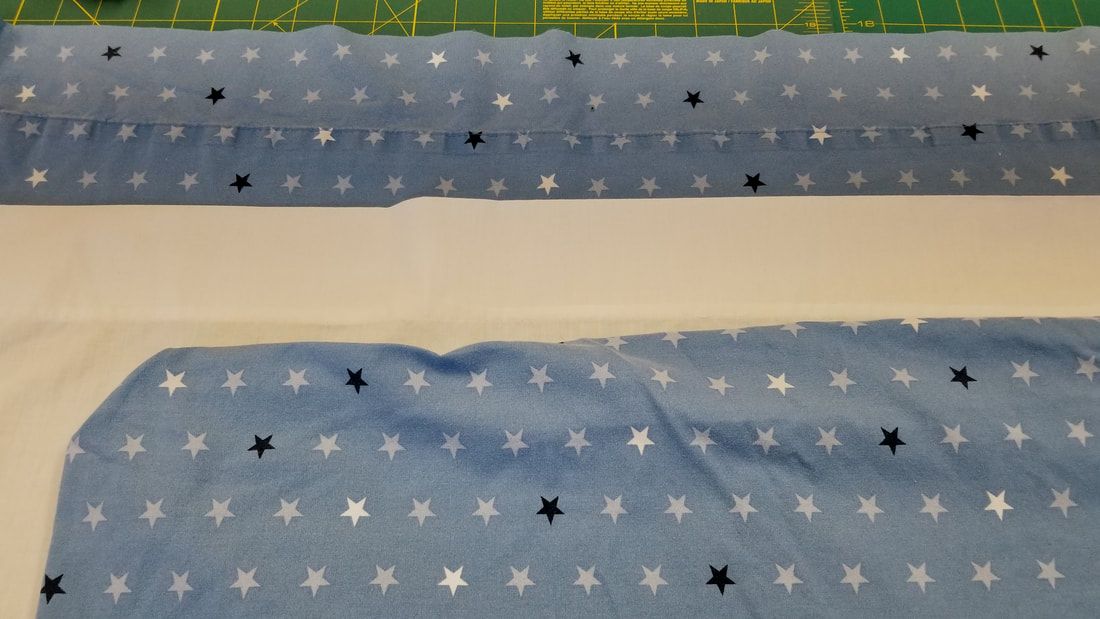
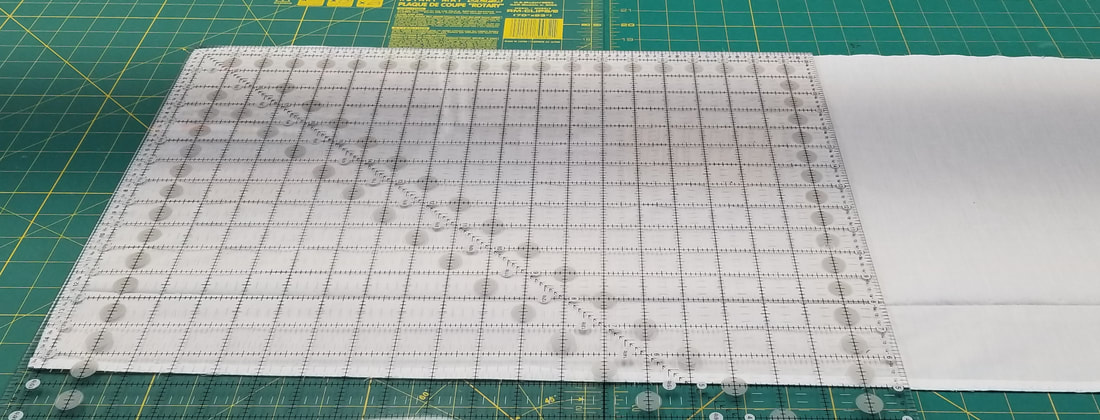 A standard pillow case measures 20" x 26", so I needed to create a white rectangle approximately 42" x 21". After opening the hem on the white sheet, I had 15" width to work with. Not enough to make the pillow case from 2 pieces, so again make-do, I used 3 pieces 15" x 21" sewn together with French seams, to make the white portion of the pillow case. |  The 6 1/2" blue hem piece was enough to make the total length I needed. Photo shows adding the blue hem to the white section with a French seam. This final piece was trimmed to 42" x 21". A side French seam and bottom edge French seam finished it all. | 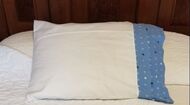 The finished pillow. I used French seams in the construction of the entire pillow case. I like the clean, finished look of a French seam and I think they may hold up better with the the use and abuse a pillow gets. See below for step-by-step instructions. |
Making a French Seam
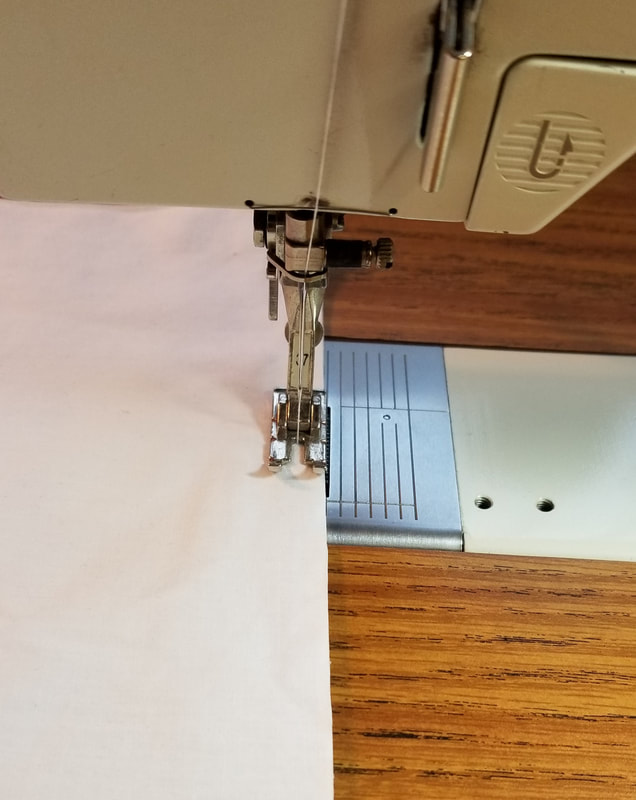 Sew WRONG sides together with 1/4" seam. This will go against logic and you will question it every time, but Wrong sides together for the first step. | 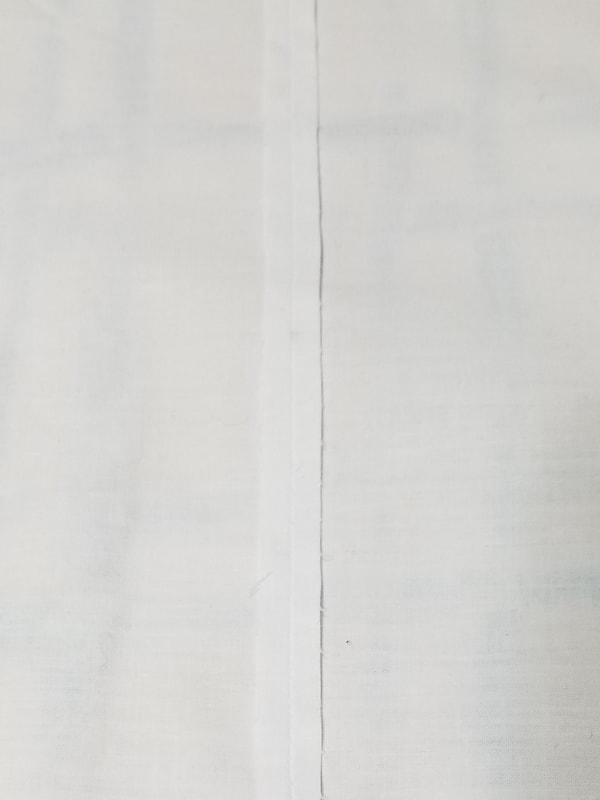 For fine dressmaking the first seam would be cut back to 1/8", but for a pillow case, I prefer to leave the full 1/4". Press the seam open. | 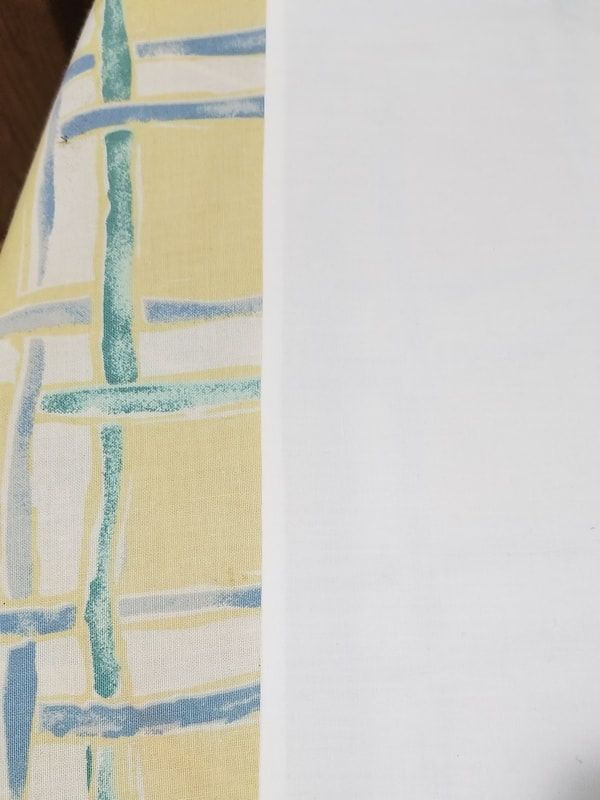 Fold the layers together with the seam exactly on the edge facing you and press again. The pressing is important in preparing a good flat edge for the final seam. | 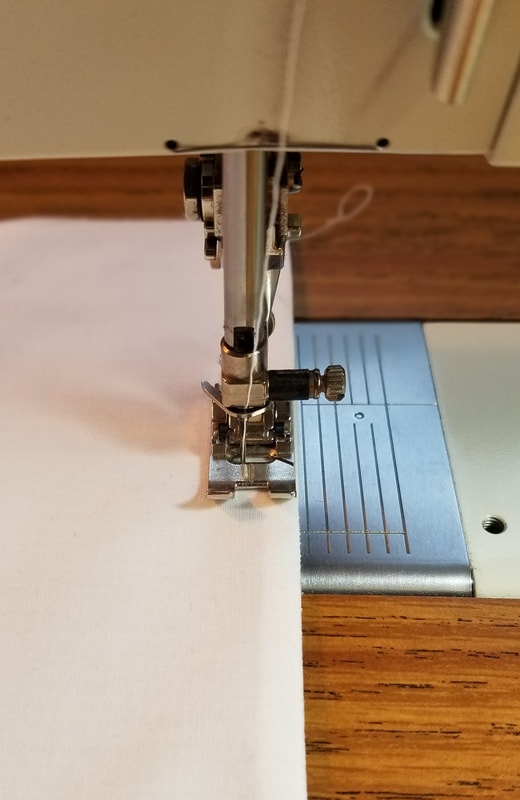 Stitch again 3/8" from the folded edge to enclose the raw edges for a clean look inside the pillow case. |
I feel good about being able to keep these textiles out of the landfill. Whether you use new or recycled goods, I hope you'll try this project for a special little one in your life.
Anita
Anita
 RSS Feed