Tools and Templates
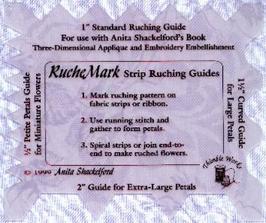
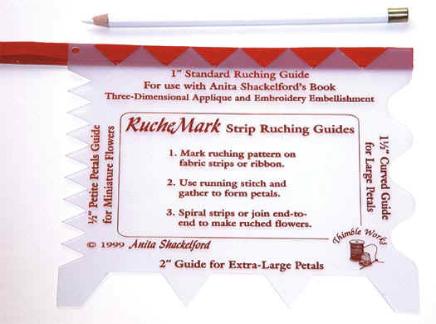
Strip Ruching Guide
Ruching is a French term which means "gathering, ruffling, or pleating".
Ruched flowers have been used on quilts and garments for at least 200 years.
Here are two different tools and techniques that I use to create ruched flowers.
Ruched flowers have been used on quilts and garments for at least 200 years.
Here are two different tools and techniques that I use to create ruched flowers.
|
|

|
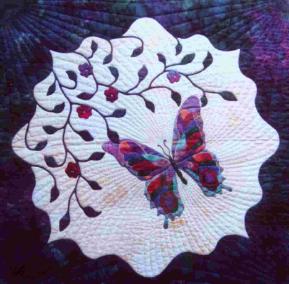
The strip ruching guide will help you create a variety of gathered dimensional flowers, butterflies, pinecones, and other beautiful embellishments. Instructions are included to help you make four different sizes of petals and six types of flowers.
My book, Three Dimensional Applique, will show you how to make a larger variety of dimensional flowers, butterflies, pinecones, and other beautiful ruched embellishments.
My book, Three Dimensional Applique, will show you how to make a larger variety of dimensional flowers, butterflies, pinecones, and other beautiful ruched embellishments.
|
|
|

|
|
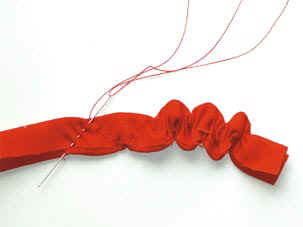
To make a traditional strip-ruched flower, cut a bias strip 1 1/2" wide, fold into thirds and press.
Use the edge of the strip ruching guide, as shown, to mark the zig-zag stitching pattern. |
Use a matching color quilting
thread to make three or four gathering stitches, edge to edge, following the ruching pattern. |
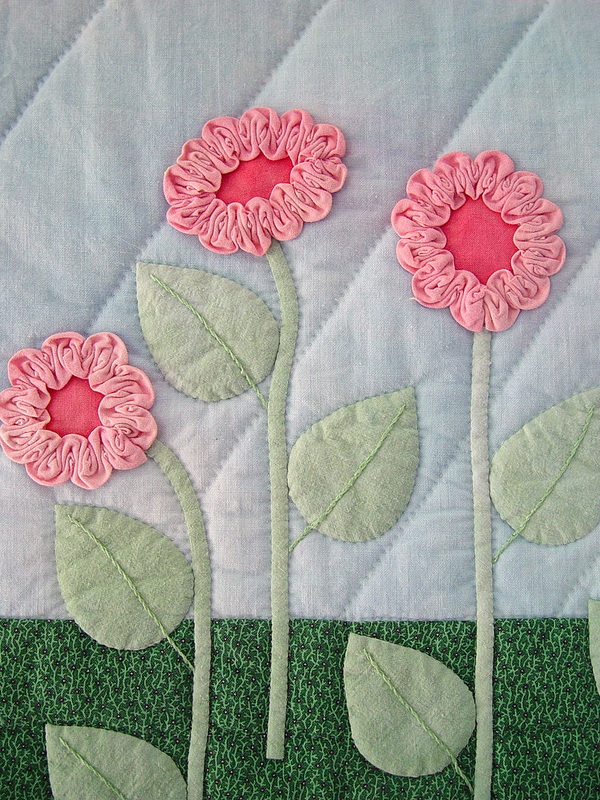
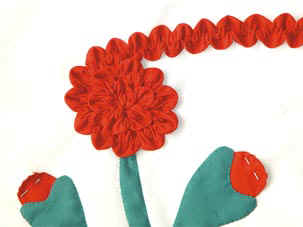
Begin in the center and form the flower by spiraling and stitching
the ruched strip into place. Tuck the final end underneath to finish the flower. |
Sample of strip ruched and spiraled flower.
|
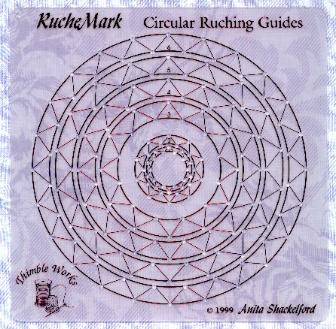
Circular Ruching Guide
My circular ruching guide helps you place the same zig-zag pattern
around the edge of a circle. Six sizes included in one tool will make flowers
in two miniature sizes, plus flowers up to 3" across.
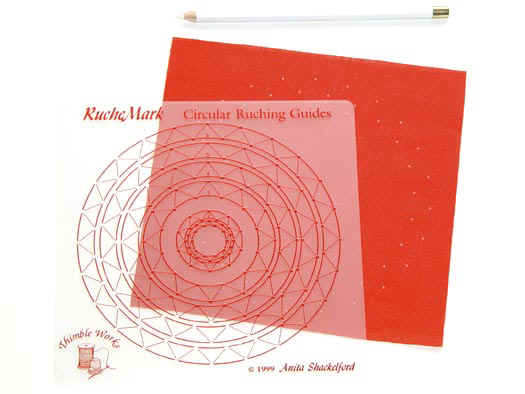
Center the cirular ruching guide on the right side of a square of fabric.
The information card with the tool will tell you how much fabric you need
to make a certain size flower. Mark the zig-zag ruching pattern for only
your chosen size. This will show as two rings of dots on the fabric.
around the edge of a circle. Six sizes included in one tool will make flowers
in two miniature sizes, plus flowers up to 3" across.
Center the cirular ruching guide on the right side of a square of fabric.
The information card with the tool will tell you how much fabric you need
to make a certain size flower. Mark the zig-zag ruching pattern for only
your chosen size. This will show as two rings of dots on the fabric.
|
|

|
|
|
|
|
|
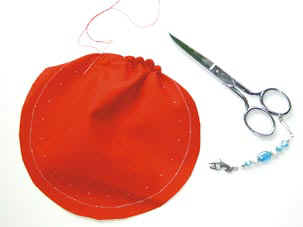
Center the cirular ruching guide on theright side of a square of fabric.
The information card with the tool will tellyou how much fabric you need to make a certain size flower. Mark the zig-zag ruching pattern for only your chosen size. This will show as two rings of dots on the fabric. |
Connect the outer ring of dots to
draw a full circle; this will be your turn line. Cut out the circle adding a 1/2" seam allowance beyond theline. Fold the edge under andgather from dot to dot, creating ruched petals along the edge. |
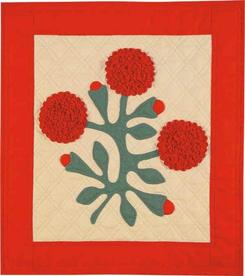
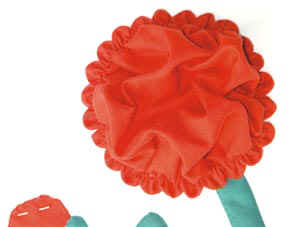
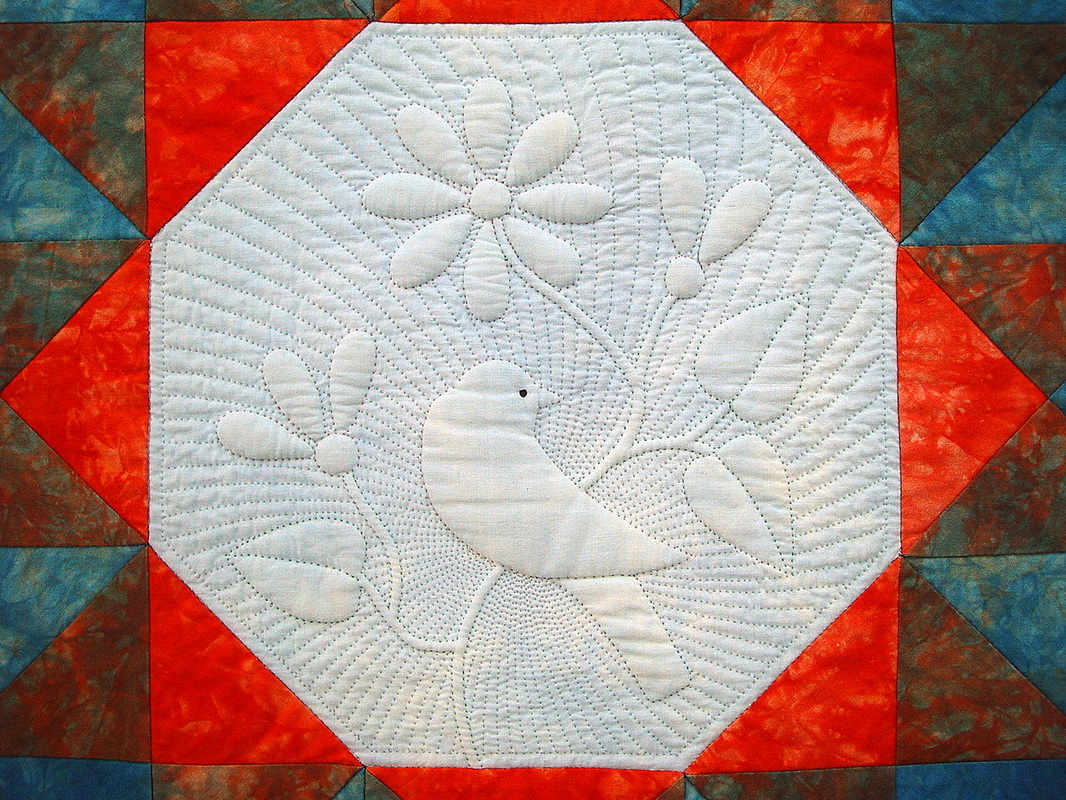
As the edge of the circle is gathered,
extra fabric will begin to show in the center. Place the flower, right side up, over the stem, with the petals to the outside, as shown. Stitch the edge intoplace with a tacking stitch in each petal. |
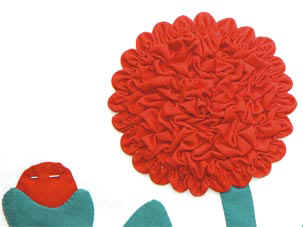
Use as many random tacking stitches as
needed to secure the center fabric, creating beautiful texture, as shown. These stitches will also secure the flower to the background. The flower is finished! |
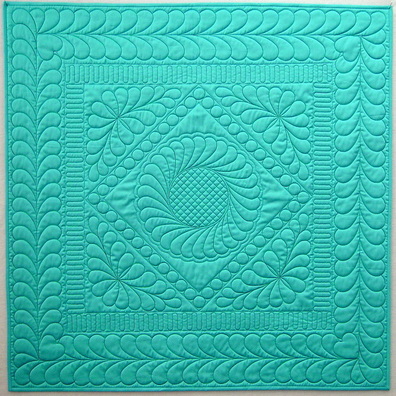
Infinite Feathers Quilting Design Template
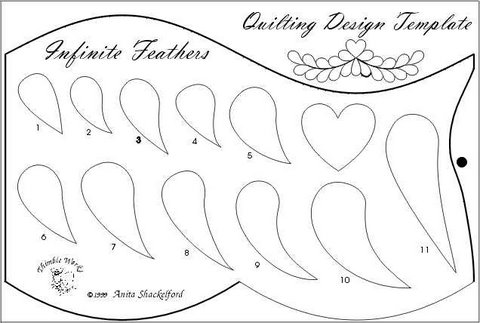
Use the Infinite Feathers Design template to help you draw perfect feather shapes for blocks, triangles, borders, or any space you need to fill.
|
|
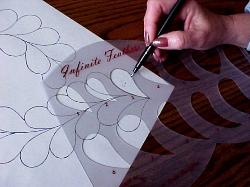
A dozen different shapes and sizes can be used to create an almost infinite variety of feather designs. Three curved edges can be traced to create spines for plumes, swags and running border designs.
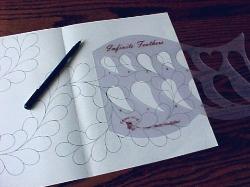
The cut-out feather shapes are easy to trace onto paper or directly onto the quilt top. All one piece - easy to trace, no slipping, no little templates to lose.
The Infinite Feathers template measures approximately 8" x 12" and comes with complete instructions for a variety of quilting designs. Step by step instructions are on the back of the packaging card, shown here.
|
|
|
Perfect Spiral
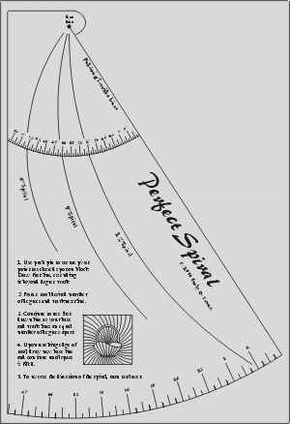
For those quilters looking for a new idea in background quilting, Perfect Spiral is the answer.
Three different curves and one straight edge will produce perfect radiating straight or spiral lines. The protractor measurements provide for infinite spacing variations. Perfect Spiral will mark blocks or backgrounds up to 24" across. Instructions included. |
|
Perfect Fans & Shells
Do you love those all-over quilting patterns used so often
in nineteenth century quilts?
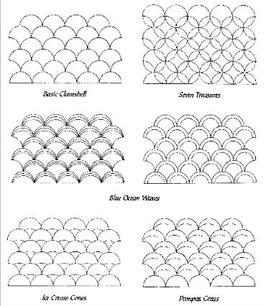
Perfect Fans & Shells will help you draw clamshell and fan patterns easily and accurately. Use the patterns all over, or to fill background areas.
in nineteenth century quilts?
Perfect Fans & Shells will help you draw clamshell and fan patterns easily and accurately. Use the patterns all over, or to fill background areas.
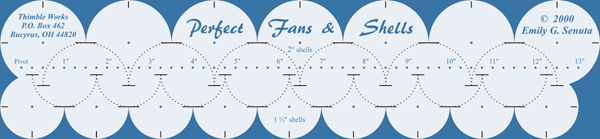
Draw rows of clamshells in 1 1/2" and 2" sizes.
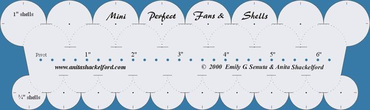
Draw rows of clamshells in 3/4" and 1" sizes with Mini Fans & Shells.
|
Draw a variety of sashiko patterns
with the clamshell tool. |
Use Perfect Fans & Shells to draw a Baptist Fan pattern.
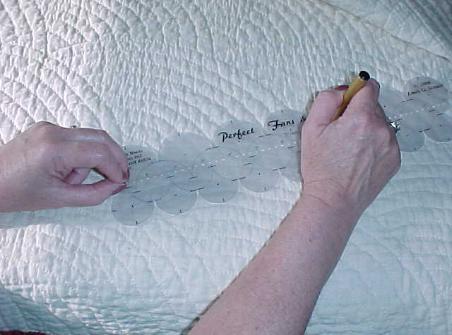
Hold the pivot point with a small tack or pin through the first hole in the template. Place a pencil in any other hole, move the template, and draw as many curves as you like.
|
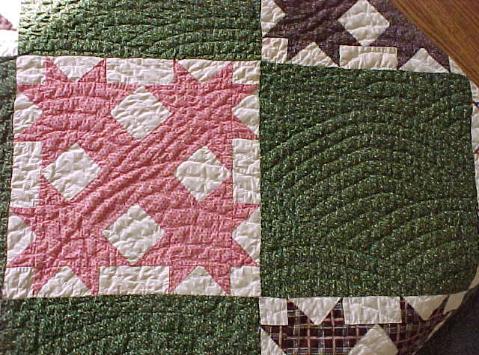
Fan pattern across an
antique quilt. |
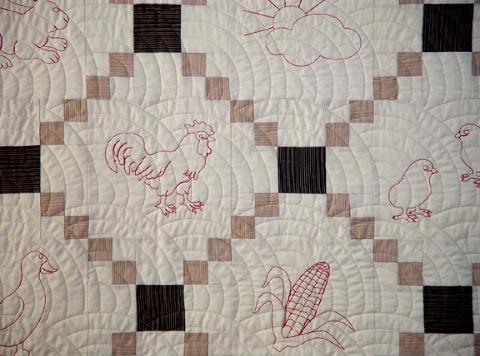
Fan pattern across redwork.
|
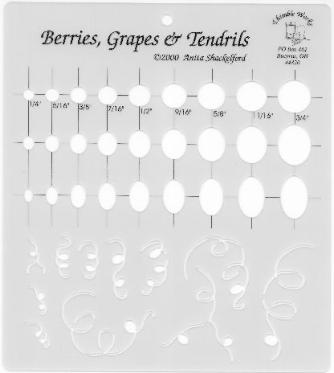
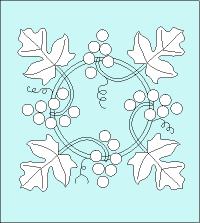
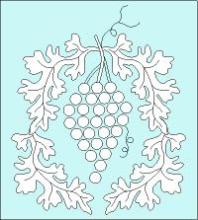
Berries, Grapes, & Tendrils
|
The Berries, Grapes, & Temdrils template will help you draw round or oval shapes in a variety of sizes. Use for quilting or applique motifs. Tendril lines are also included.

|
|
|
|
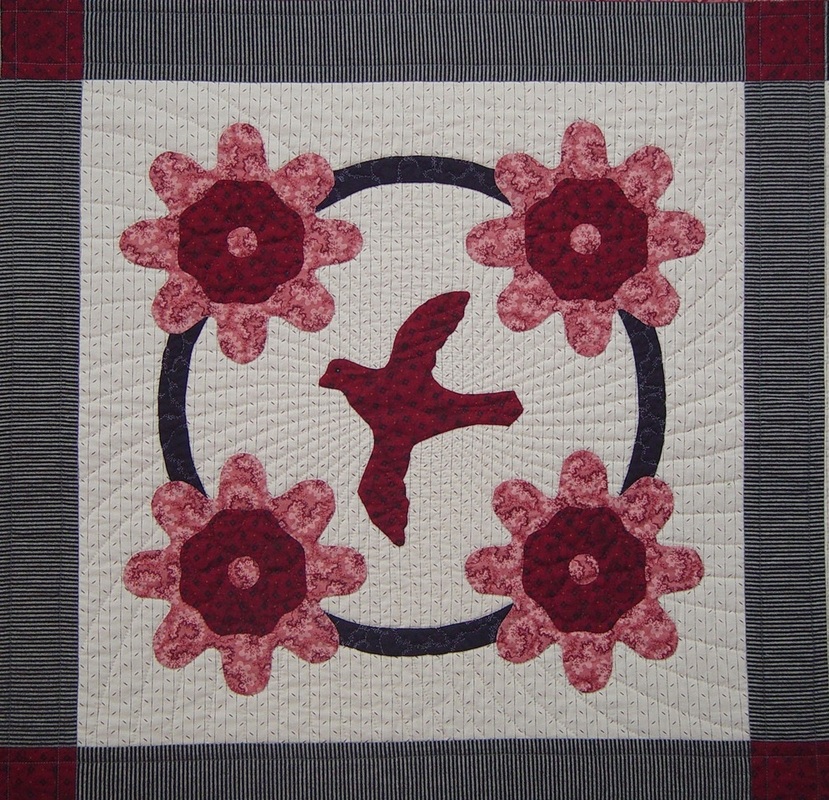
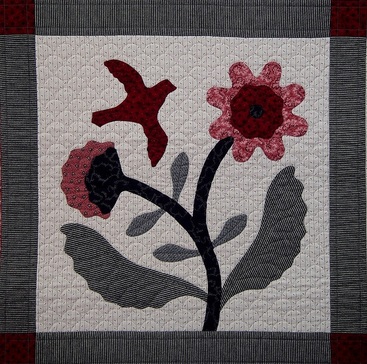
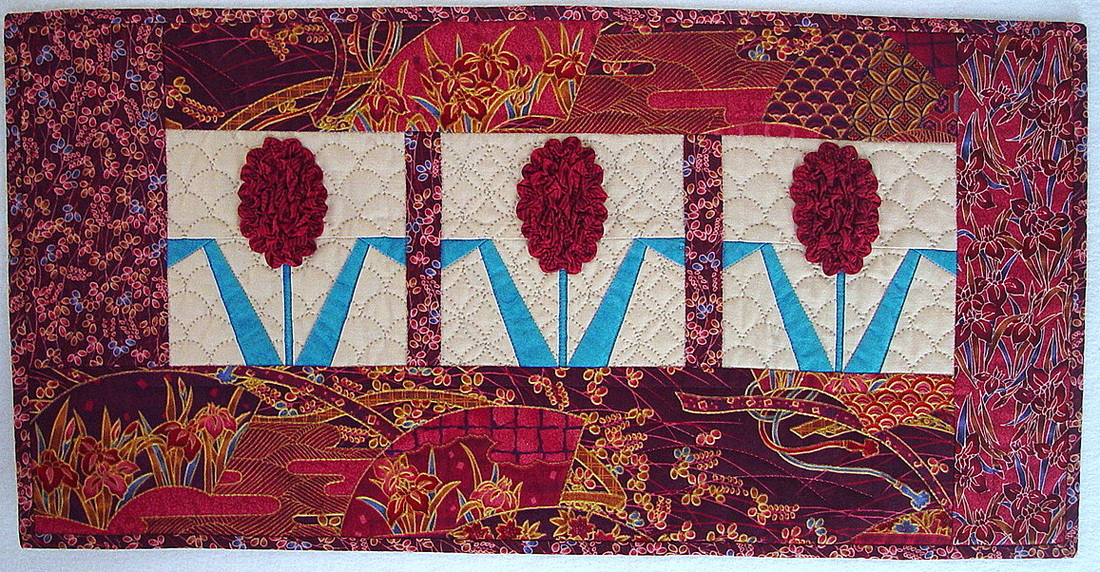
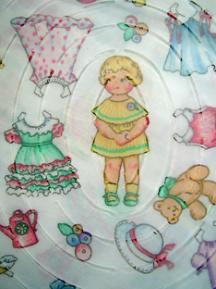
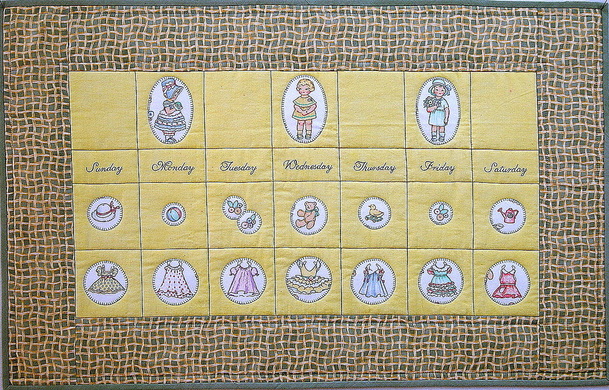
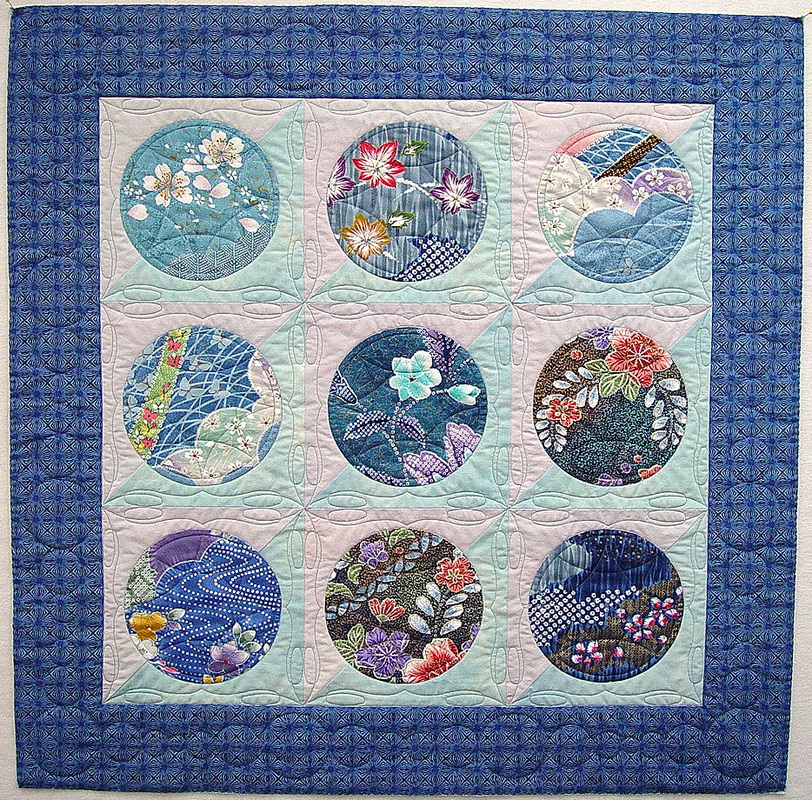
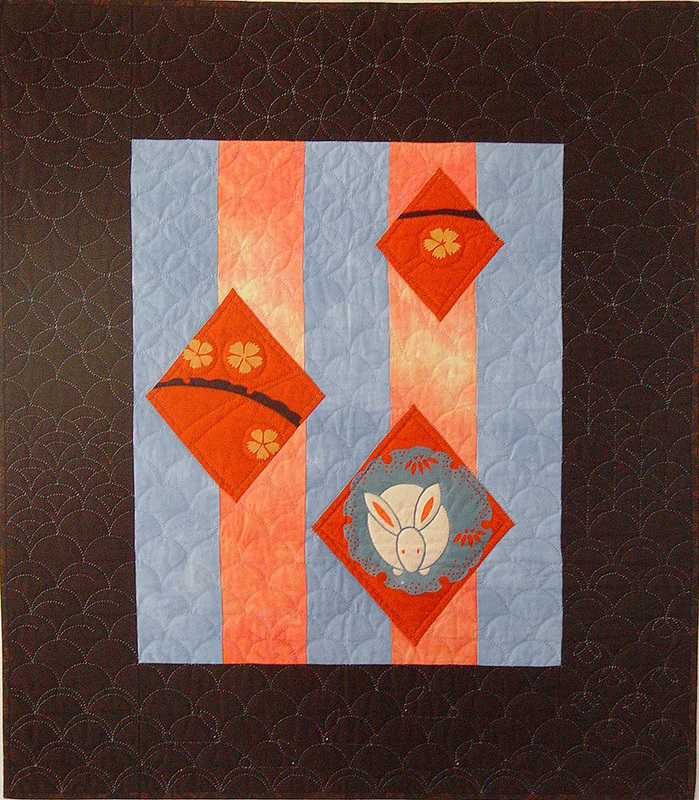
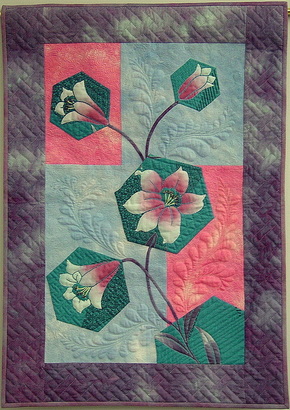
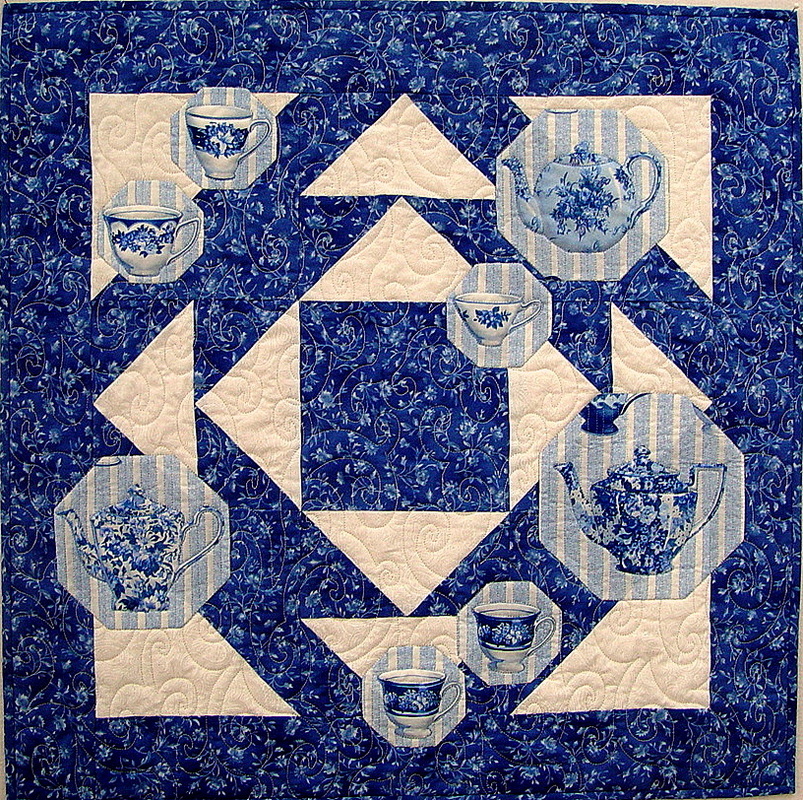
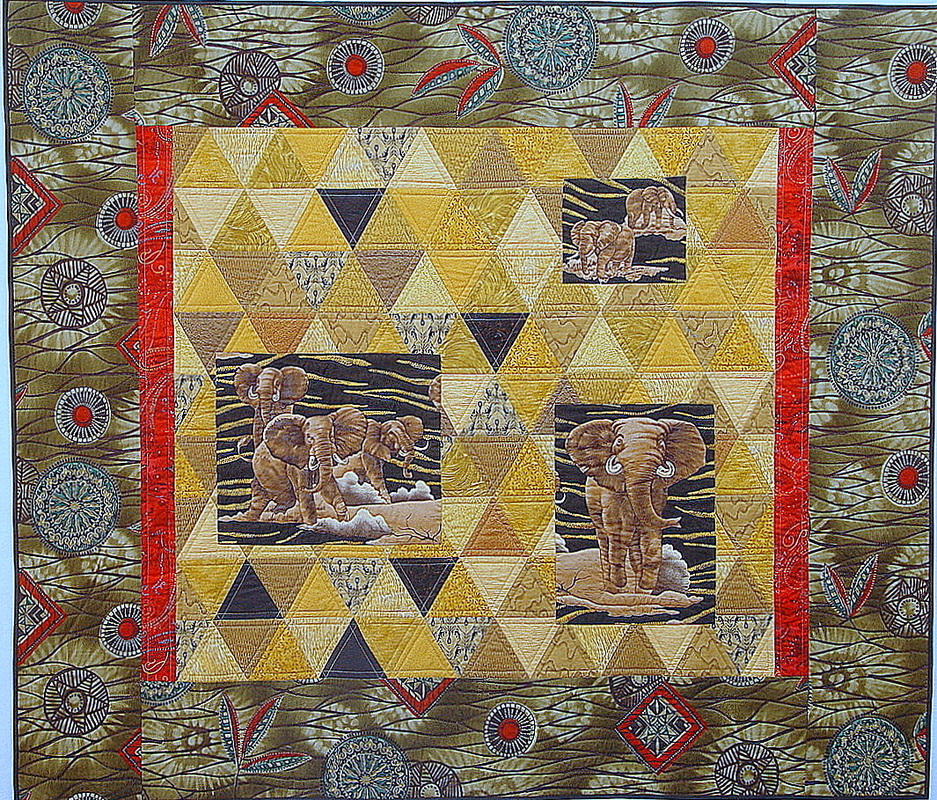
Basic Shapes
Buy Basic Shapes templates individually or as a set.

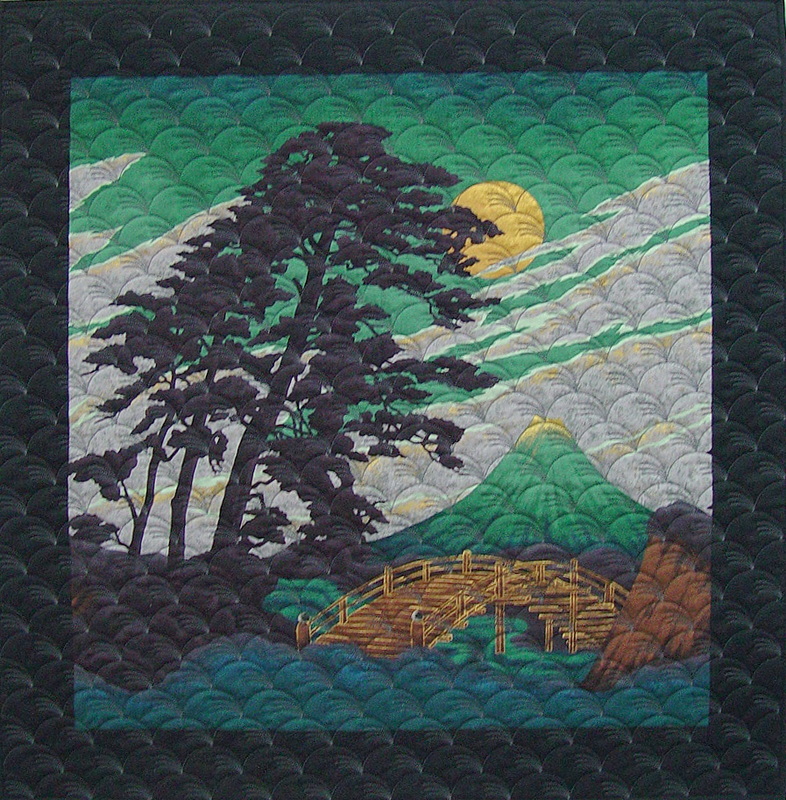
I've used Basic Shapes templates for years in my Focus on Fabric workshop.
It's a great way to create a one-of-a-kind wall quilt. Piece a simple background and capture the featured image in a shape that will be easy to applique
by hand or machine.
There are 5 basic shapes available; each will lend a different mood tooptions for creative design - even miniature work.
Follow the steps below to see how easy it is to create a unique quilt from a special theme or novelty fabric.
|
Use Basic Shapes to create one-of-a-kind applique quilts.
|
|
|
|
|
|

Ribbon Weave
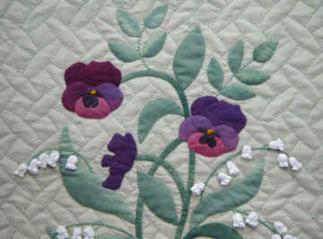
These two templates were designed by Emily Senuta and will help you mark background quilting patterns in a curved ribbon weave design. A beautiful
complement to traditional applique.
complement to traditional applique.
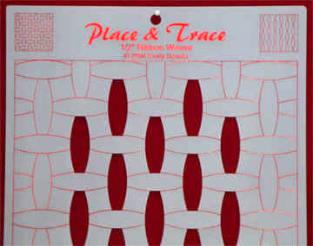
1/2" shown. 1/4" also available
|
|
We can no longer ship internationally without first calculating the shipping.
To check on postage, send an email to [email protected] and list the items you are interested in and include your full address and phone number.
To check on postage, send an email to [email protected] and list the items you are interested in and include your full address and phone number.