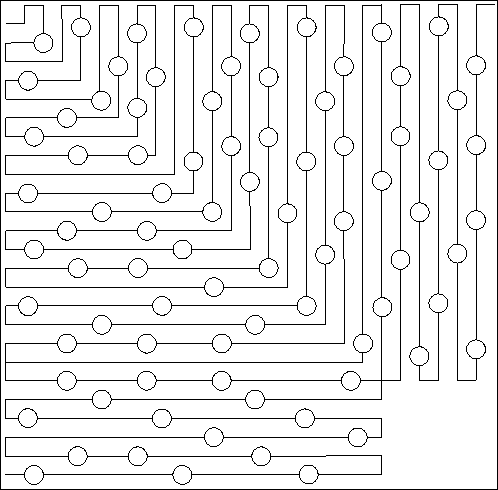
Fill Borders Modern
The Fill function allows us to crop patterns to fit and fill irregular shapes; perfect for quilting curved edges, along applique shapes, or long running feather borders.
Link to the Store is at the bottom of the page.
The Fill function allows us to crop patterns to fit and fill irregular shapes; perfect for quilting curved edges, along applique shapes, or long running feather borders.
Link to the Store is at the bottom of the page.
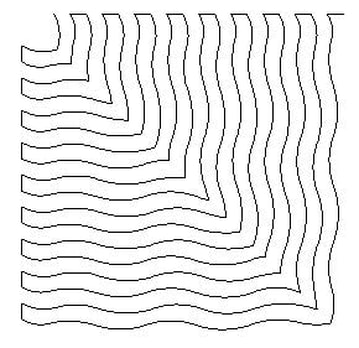
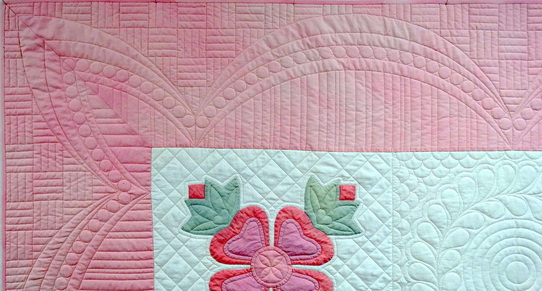
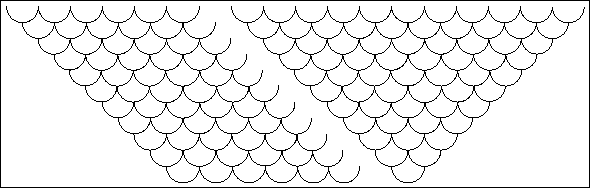
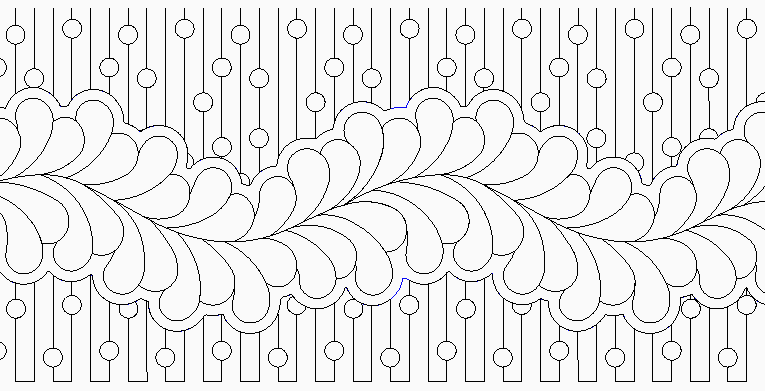
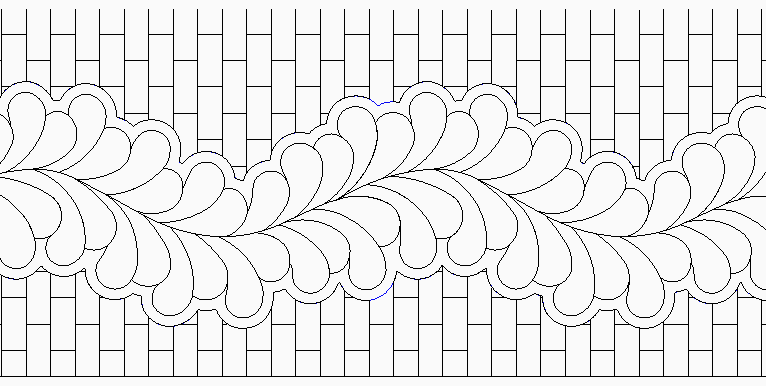
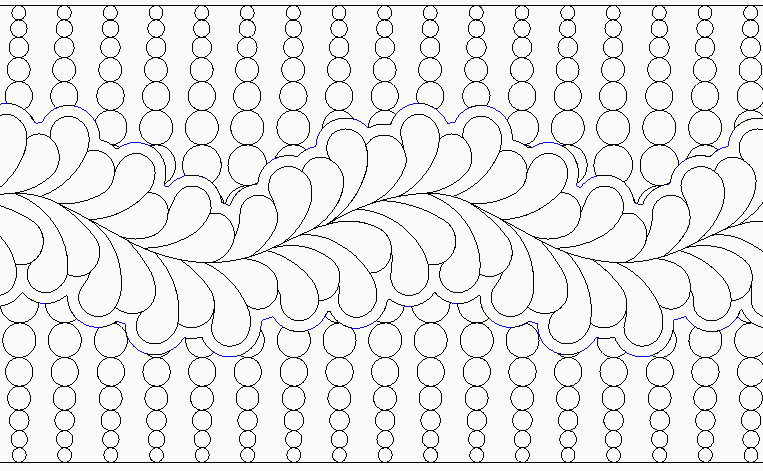
Fill Border Alternating 2 used in a shaped border
|
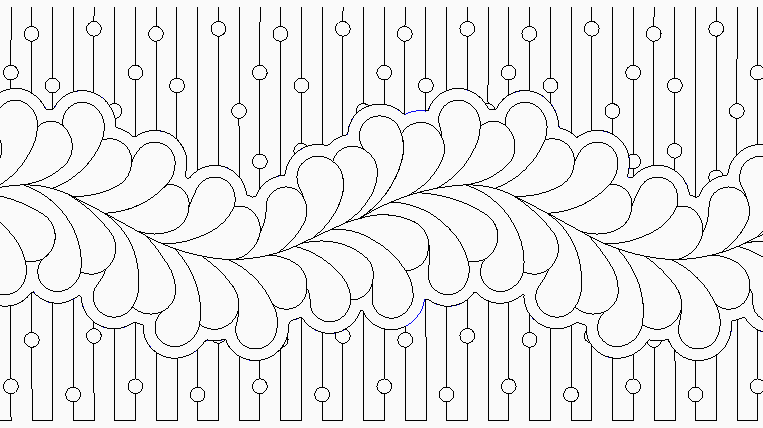
Fill Border Alternating 2
|
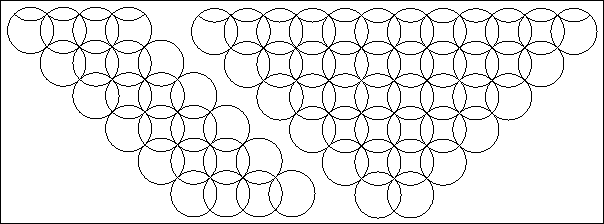
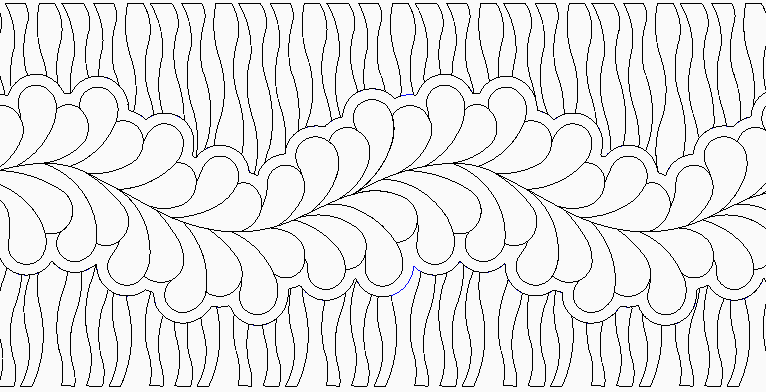
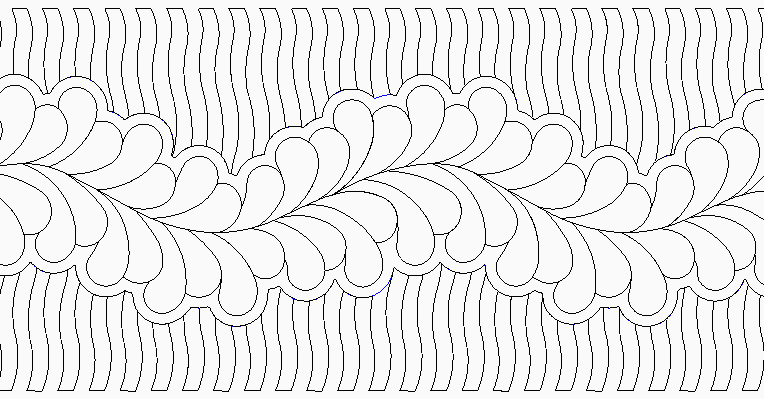
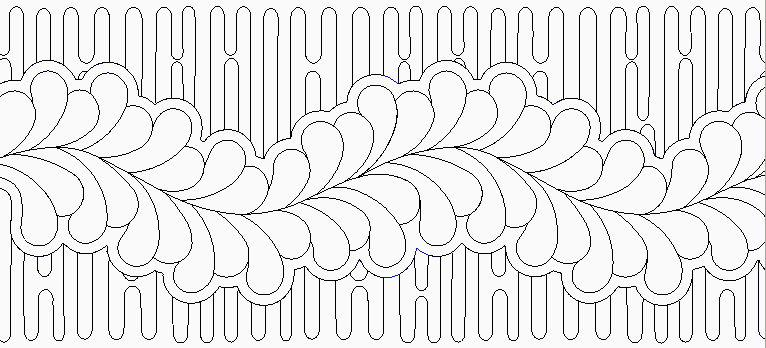
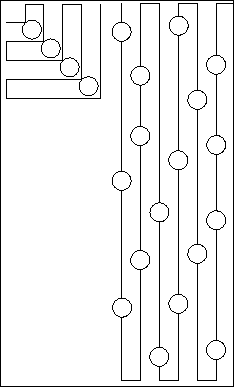
Fill Border Mirrored 2

|
|
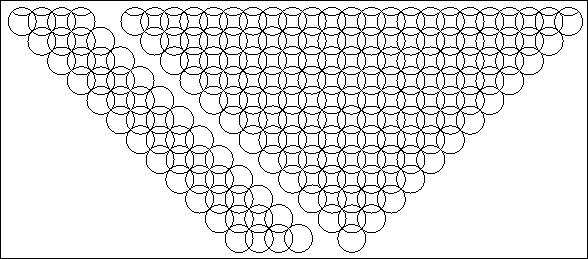
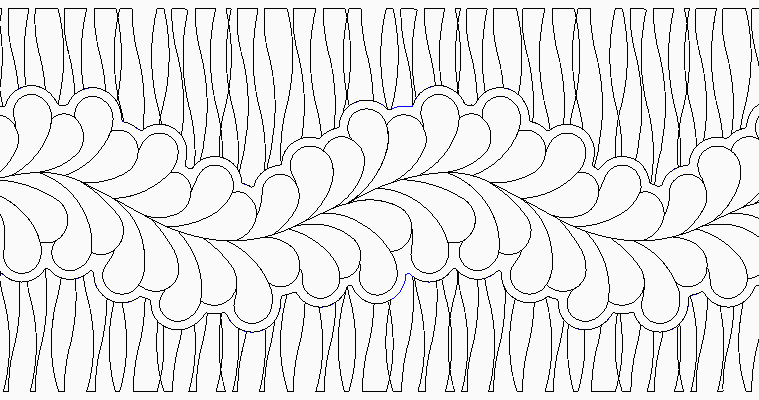
Fill Border Crosshatch and Channel
|
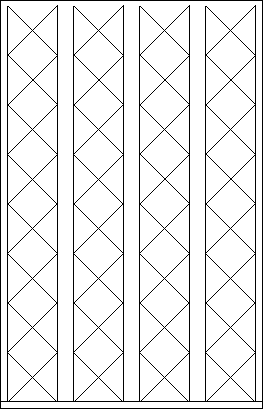
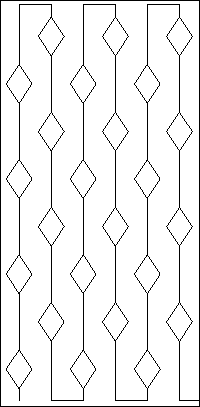
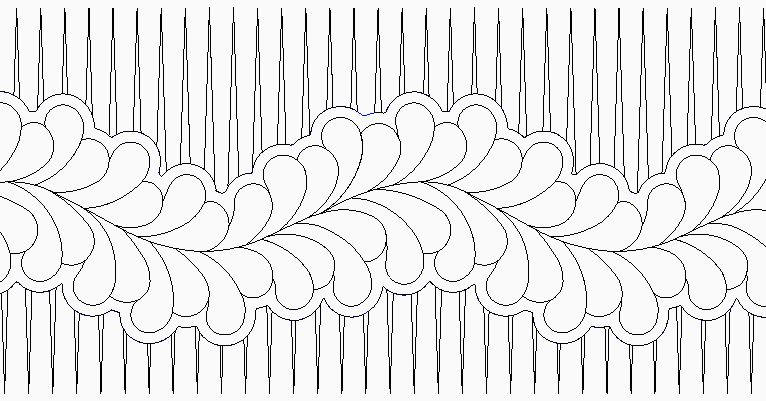
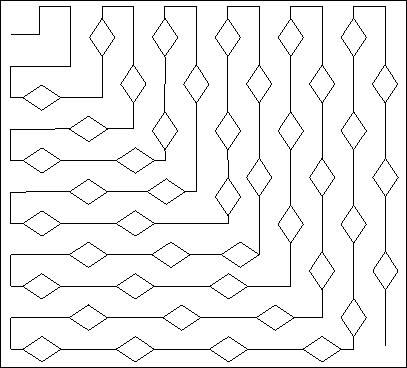
Fill Border Diamonds
|
|
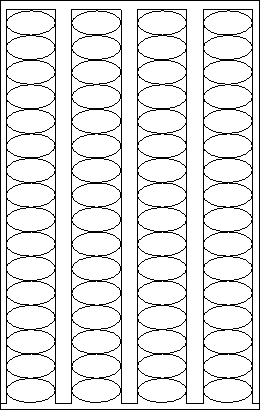
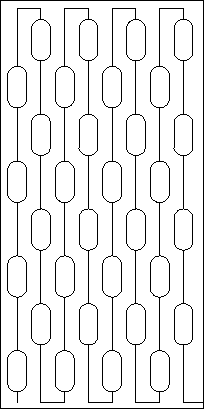
Fill Border Ovals and Channels
|
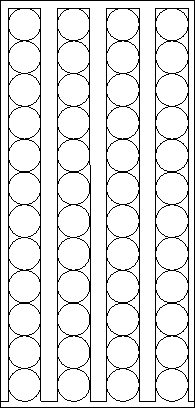
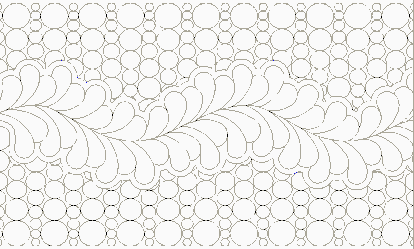
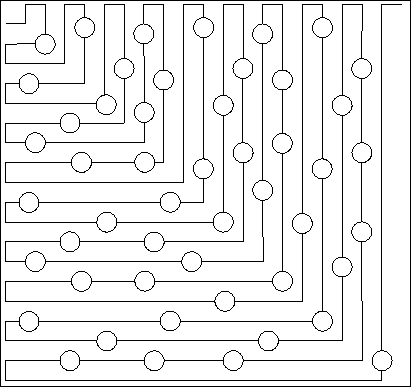
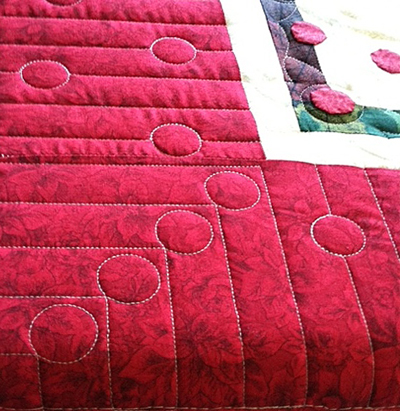
Fill Border Pearls and Channels
|
|
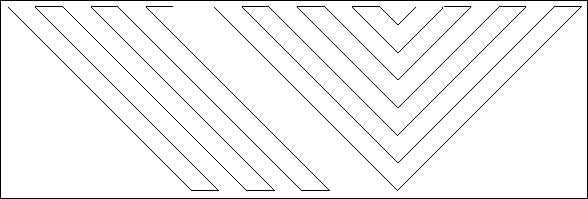
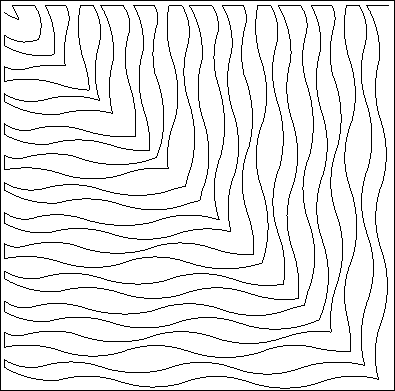
Fill Border Modern Lines
|
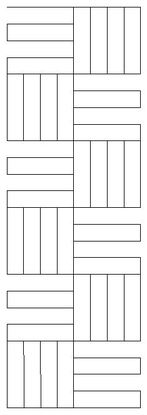
Fill Border Basket Weave
|
|
|
Fill Border Modern Lines and Fill Border Basket Weave
behind Swag Border with Pearls.
behind Swag Border with Pearls.
|
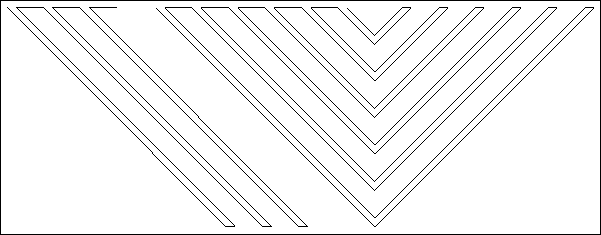
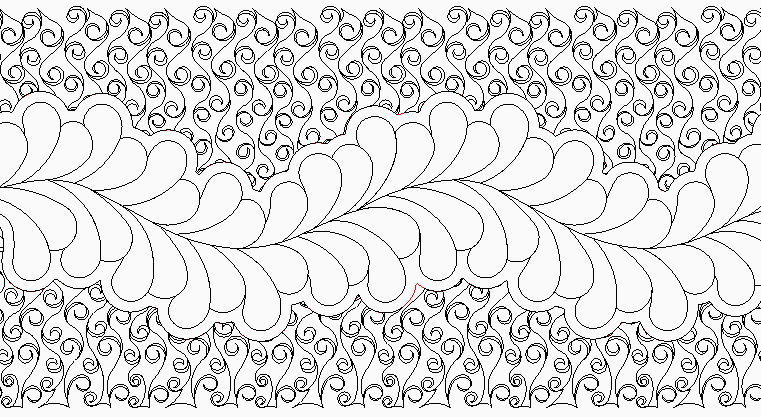
Fill Border Modern Links
|
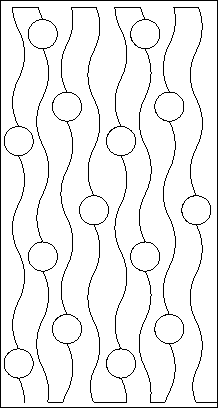
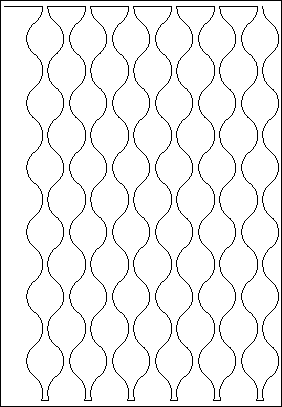
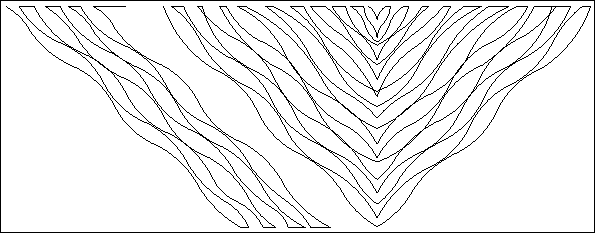
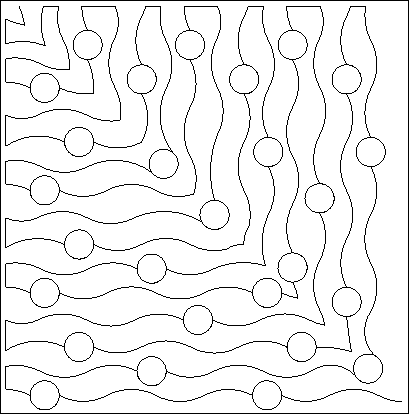
Fill Border Modern Ripples
|
|
|
|
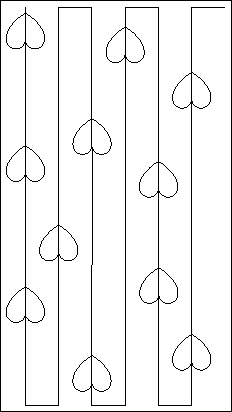
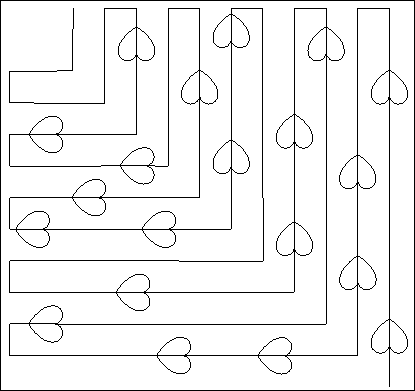
Fill Border Hearts
|
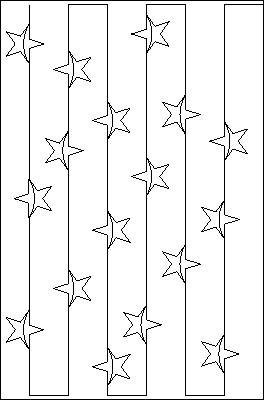
Fill Border Stars
|
|
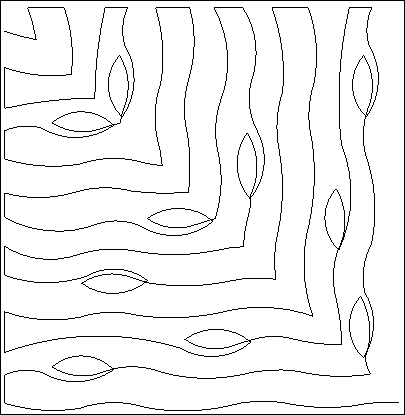
Fill Border Dew Drops Curved
|
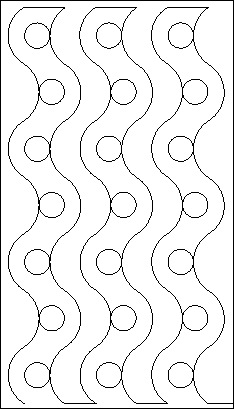
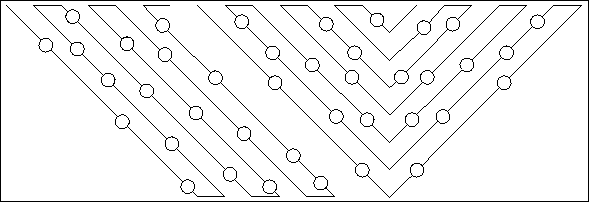
Fill Border String of Pearls
|
|
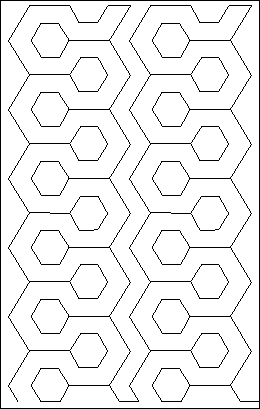
Fill Border Modern Honeycomb
|
Fill Border Chain
|
|
|
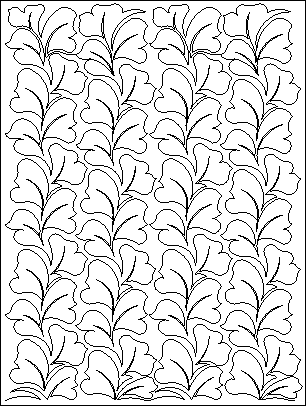
Fill Border Leaves
Fill Borders Diagonal
Fill Border Diagonal Triple Line used behind Rope Border
These border patterns are drawn to stitch on a diagonal path and
they will automatically create their own mitered corners.
Each set contains a left side repeat plus a center wedge to reverse the pattern. The
border pattern should be flipped horizontally to stitch the right side of the border.
Important! To avoid overstitching, please read how to set up the wedge section of
the line patterns before quilting. Clamshells and Wine Glass can be used as they
are drawn.
Fill Border Diagonal Single Line and Wedge
Fill Border Diagonal Double Line and Wedge
Fill Border Diagonal Triple Line and Wedge

Fill Border Diagonal Dew Drops and Wedge
Fill Border Diagonal Wavy and Wedge
Fill Border Diagonal Clamshells and Wedge
Fill Border Diagonal Wine Glass and Wedge
Fill Border Diagonal Wine Glass Dense and Wedge
Fill Borders Geometric
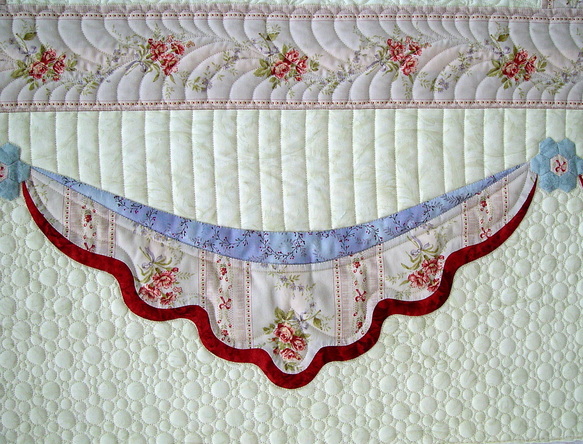
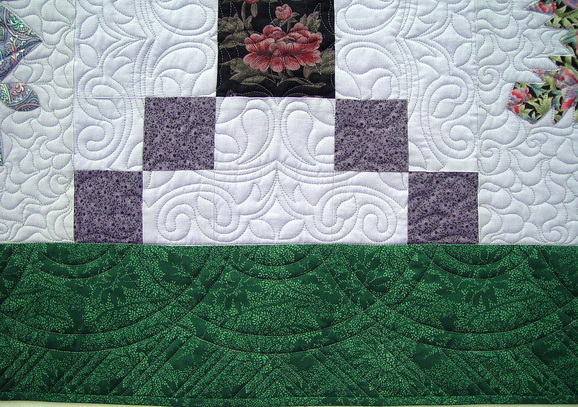
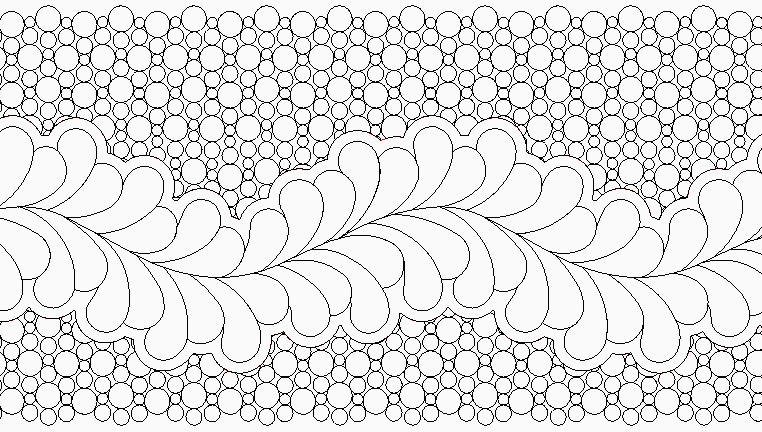
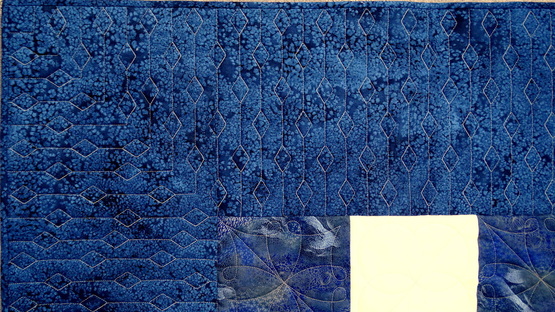
Fill Border Pearls behind an appliqued swag border
This is my first set of Fill Border patterns, which have been so popular.
The samples show how they would look stitched above and below a running
feather border, echoed once. (the feather pattern is not included in these patterns).
The Fill function will connect lines where they are interrupted
by the echo and the border seam.
|
Fill Border Dew Drops Large
|
Fill Border Dew Drops Small
|
|
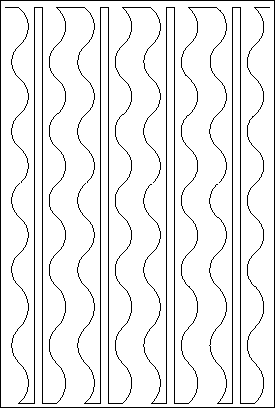
Fill Border Wavy
|
Fill Border Ripple
|
|
Fill Border Bricks
|
Fill Border Water
|
|
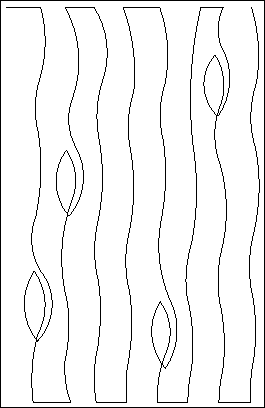
Fill Border Vine
|
Fill Border Spikey
|
|
Fill Border Circle Play 1
|
Fill Border Circle Play 2
|
Fill Border Circle Play Corner

Can be used with either border pattern but will not connect for continuous stitching.
|
Fill Border Curls
|
Fill Border Pearls
|
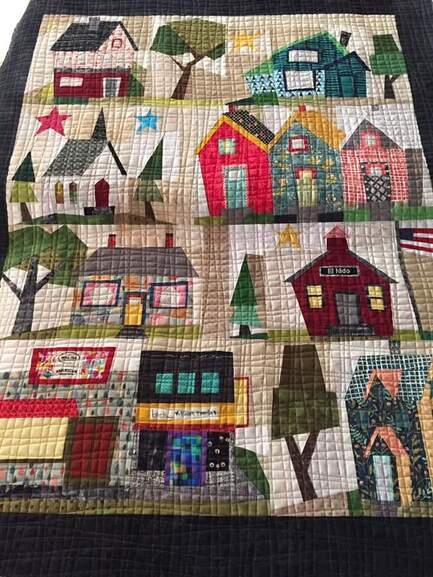
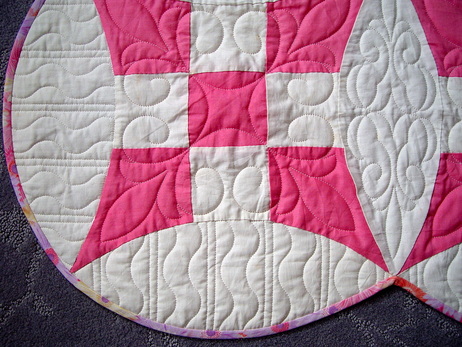
Fill Border Wavy set up in repeats across a wall quilt, in both directions.
Quilted by Sheryl Highsmith
Quilted by Sheryl Highsmith
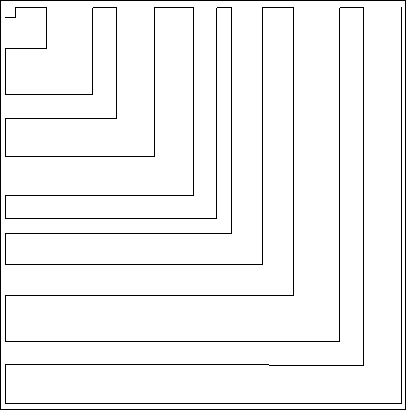
Fill Border Corners
Fill Border and Corner Diamonds used to fill the entire border space
All of the straight, piano-key type border patterns above can be
set up with butted borders, but if you prefer the look
of a mitered corner, here are several corner patterns to
coordinate with border patterns shown above.
set up with butted borders, but if you prefer the look
of a mitered corner, here are several corner patterns to
coordinate with border patterns shown above.
Setting up a Fill Border with a Corner Pattern
1. Draw the boundary for your border.
2. Place the corner pattern and size it to the density you want. Pull UL resizing handle to extend the pattern off the quilt if you want it larger or less dense.
3. Use Circular Array to make 3 more corners. Position UR corner pattern to match UL. Remove or toggle the remaining patterns sewn to hold for later.
4. Place one border pattern on the CAD and size it to match the corner. Use that pattern size to place the required number of repeats to fill the border.
5. Corner patterns will not snap to border repeats. Align them, using the CAD grid to measure spacing and nudge them into place.
6. Set the Sew Order.
7. Use Fill Inside to crop off parts of the pattern not needed within the drawn boundary.
|
Fill Border Dew Drops Large Corner
|
Joan's Dew Drops Corner

|
|
|
|
Note: Both of the Dew Drops Corner Patterns are drawn to be in scale with the
Fill Border Dew Drops Large. Use the Fill function to crop off parts of the pattern
that extend beyond the intended quilting space.
Fill Border Dew Drops Large. Use the Fill function to crop off parts of the pattern
that extend beyond the intended quilting space.
Fill Border Diamonds Corner
|
Fill Border Hearts Corner
|
Fill Border Wavy Corner
|
|
|
|
Fill Border Modern Lines Corner
|
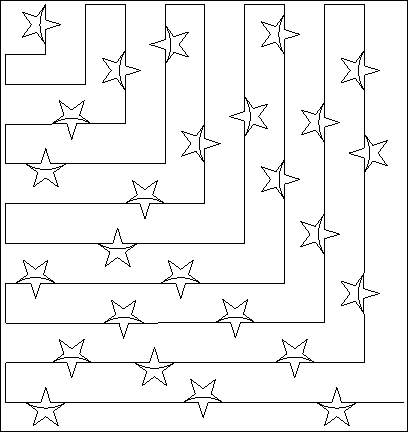
Fill Border Stars Corner
|
|
Fill Border Modern Ripples Corner
|
Fill Border Dew Drops Curved Corner
|
Fill Border Ripple Corner