A question arose this morning about how vintage quilts were bound. I decided to photograph and share some of my earliest quilts here. I think you might be surprised at the variety of ways quilt edges were finished. Clearly, there was no one right answer. I'm sure they vary somewhat by date, region, family influence, skill and preference of the maker. I hope you enjoy seeing them. I'll take a look at 20th century quilts another time.
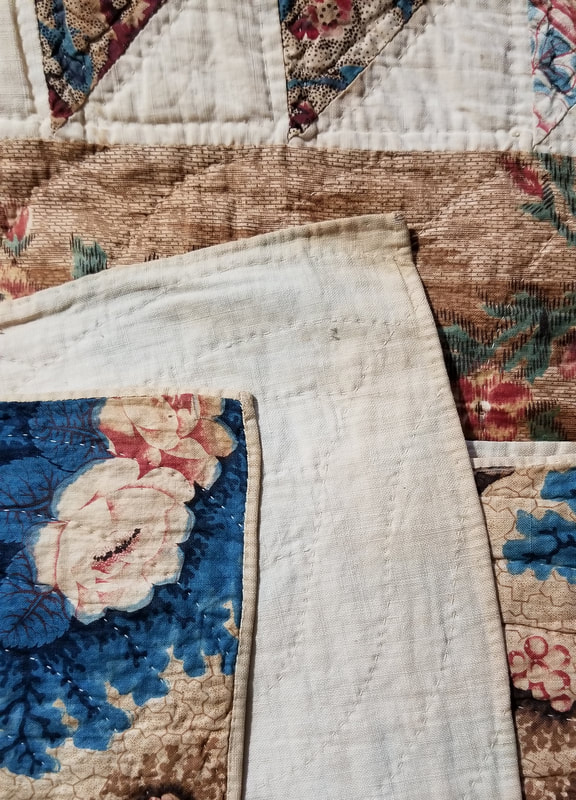 c1840 Chintz. 1/8" binding rolled back to front. 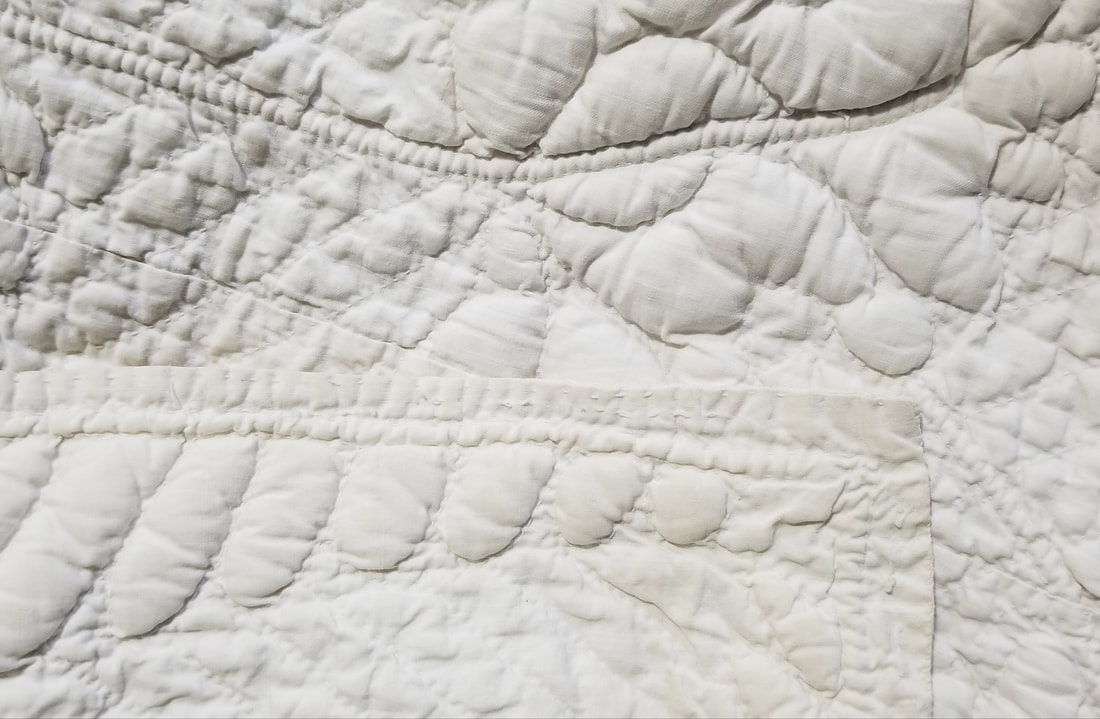 Early Trapunto quilt. Knife edge with cording. 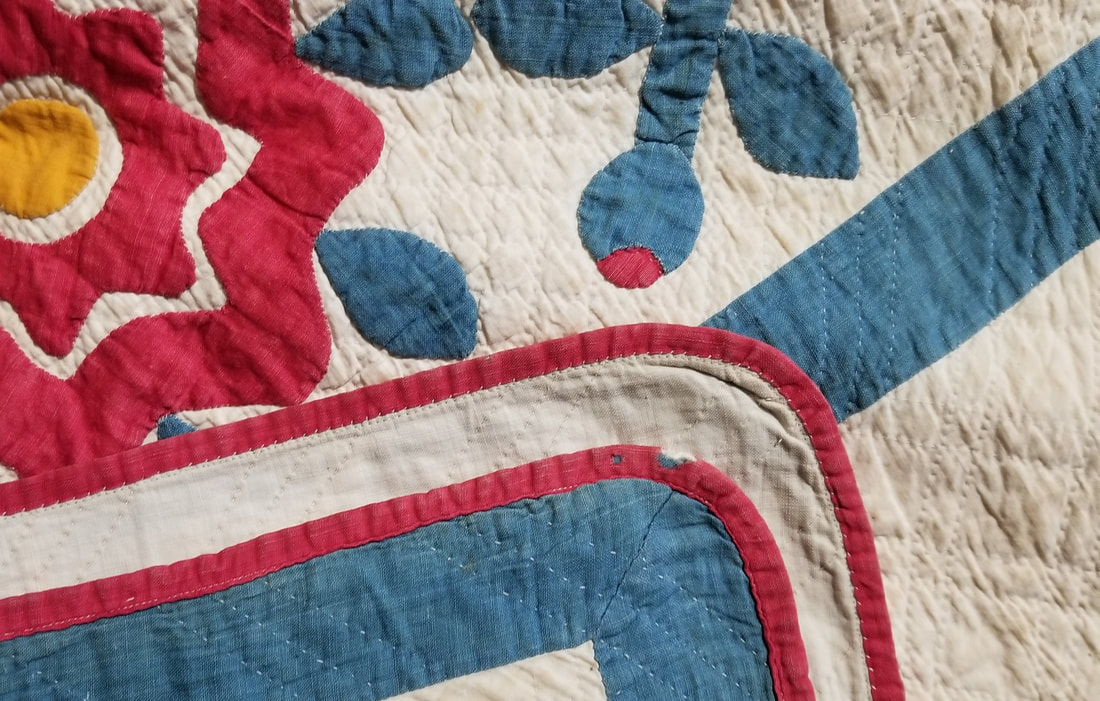 Red and green applique with straight grain binding and rounded corners 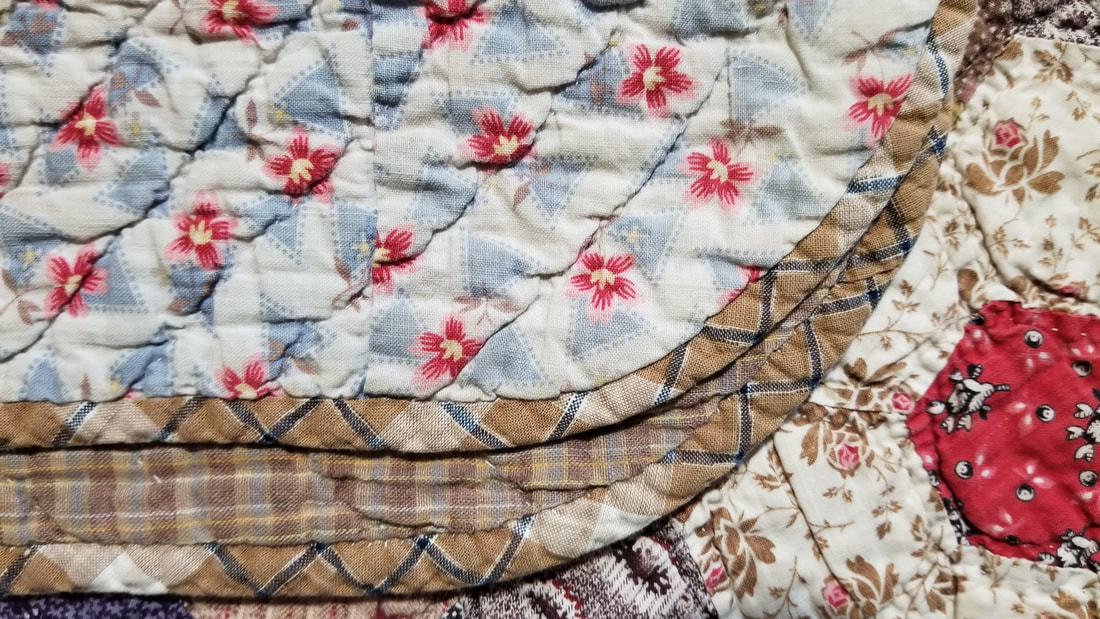 Turn of the century with bias binding and rounded corners | 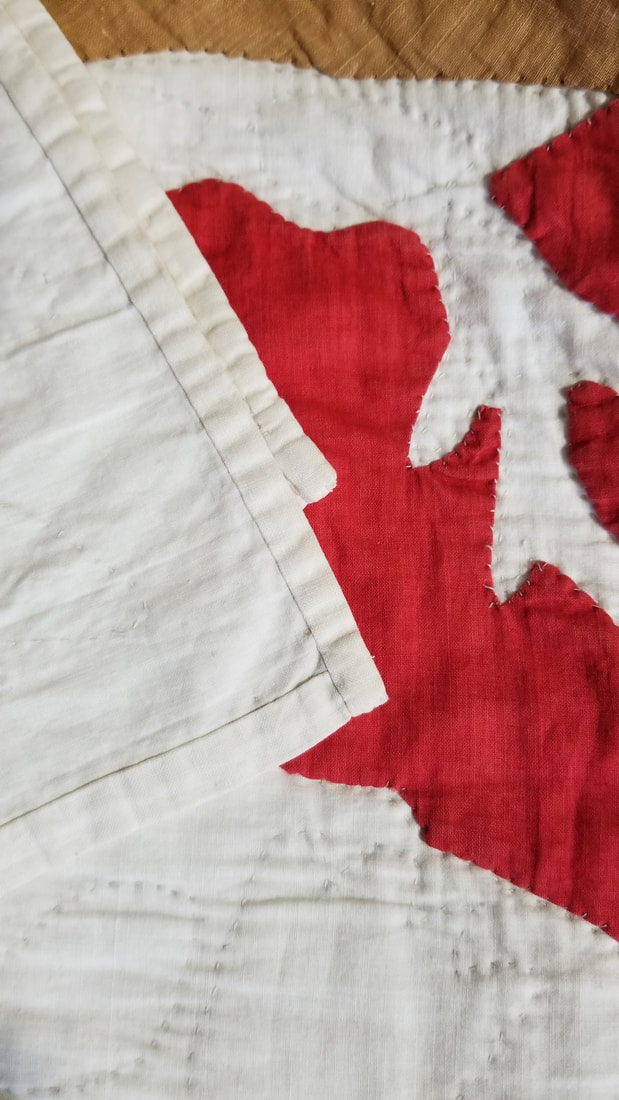 Mid 1800s Applied straight grain binding, square corners 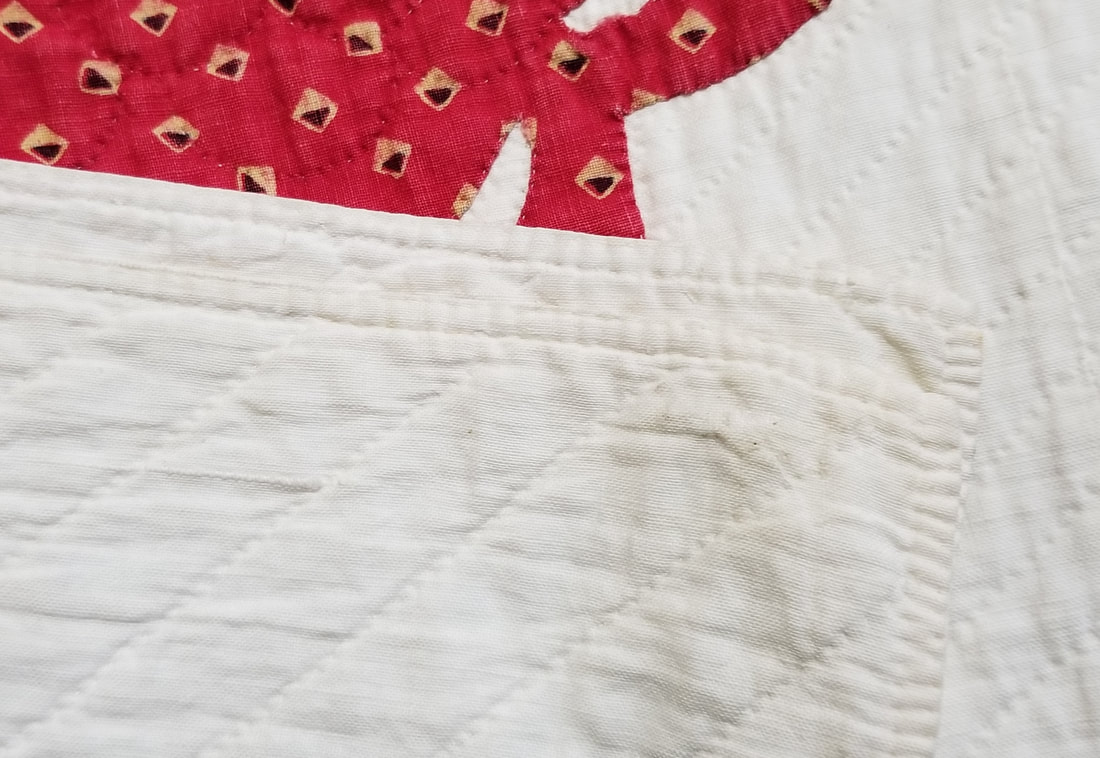 Mid century red and green Knife edge and quilted twice 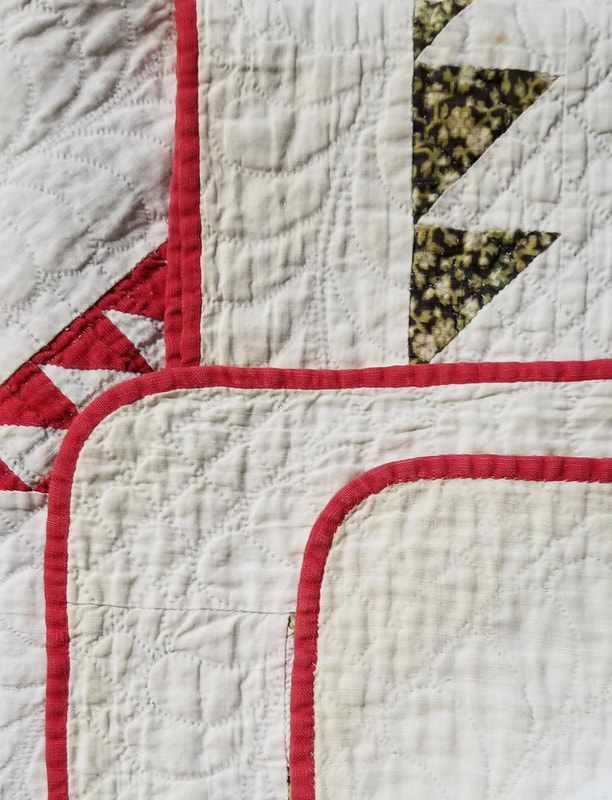 Red and green pieced with straight grain binding and rounded corners |
 Late 19th century with bias binding and mitered corners | 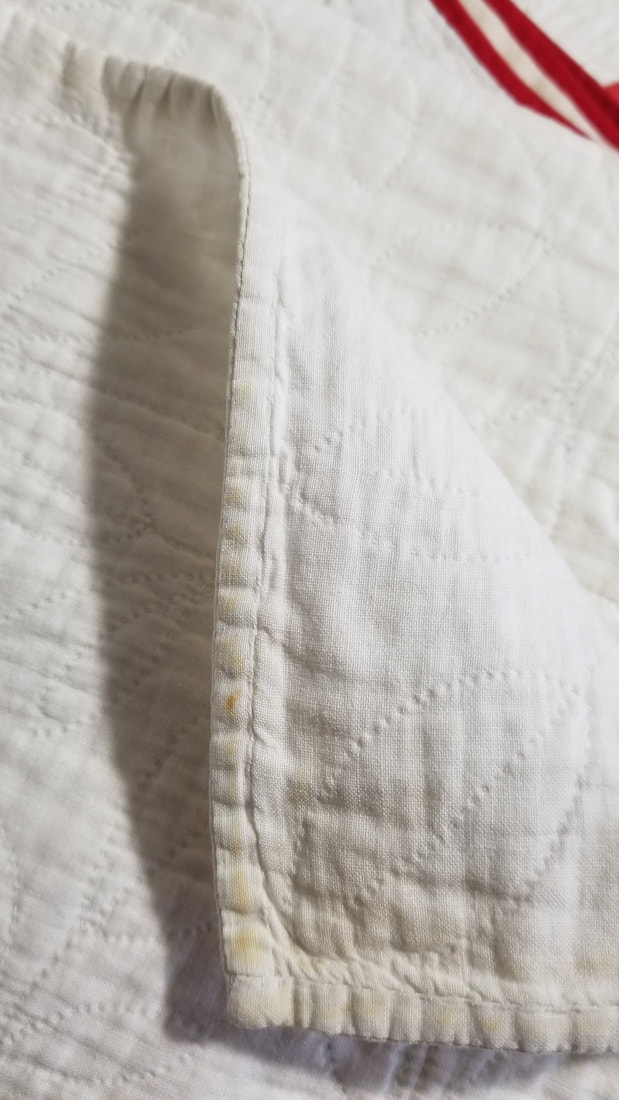 Early 20th century with a straight grain applied facing, turned to the back. |
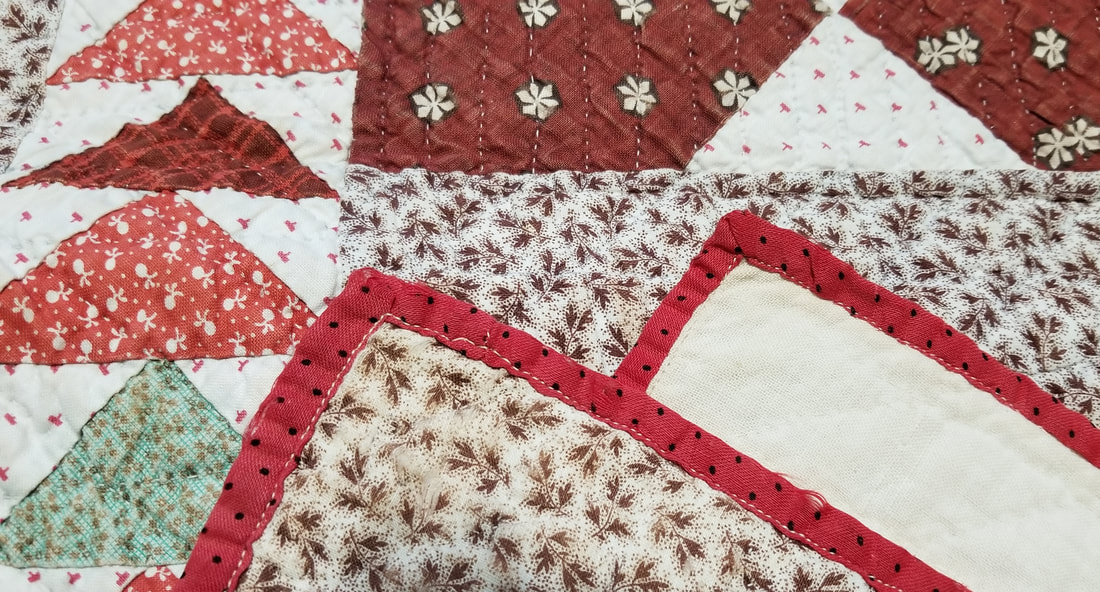
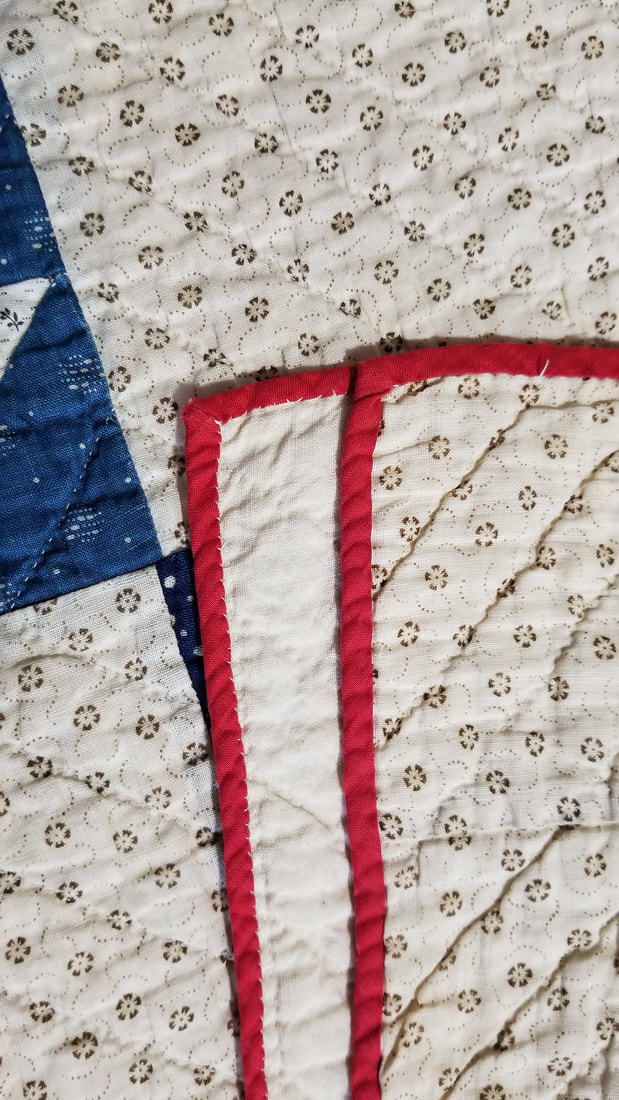
Late 19th century with bias binding, mitered corners, applied by machine.


 RSS Feed